
Hmmm Pink Coffee filter you say... Yes pink and a little brown. I had intended to make this little idea before Valentines Day but alas, time had better plans. So I made it for Presidents day. I thought I would show you how to make your own.
It is quite a peachy process and oh so easy.
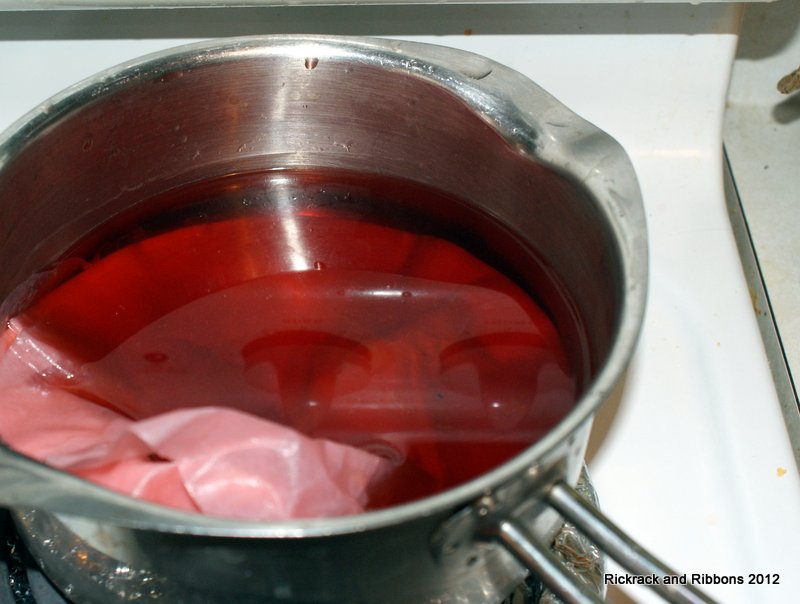
The first thing is to prepare a colored dye concotion.
I was going to use tea, which is what I usually use when I want to dye muslin but I did not have any african redbush, which makes the prettiest color.
I had to improvise. I put on my thinking cap for this and reached for food coloring.
So, some hot water some food coloring and a little coffee went into the pot.
About 6 drops or so. The filters will be lighter then the water.
Next, take a bunch of filters and stick them in the dye- all together.
I put some in and let them sit for five minutes or so.
The longer you leave them the deeper the color.
I did several batches because I wanted to vary my colors.
With the next batch I added a bit more coffee for a brownish tinge, because I like that.

Now turn on your oven to 225 degrees
Squezze out excess liguid from said filters.
lay your filters on a baking sheet
place in oven.
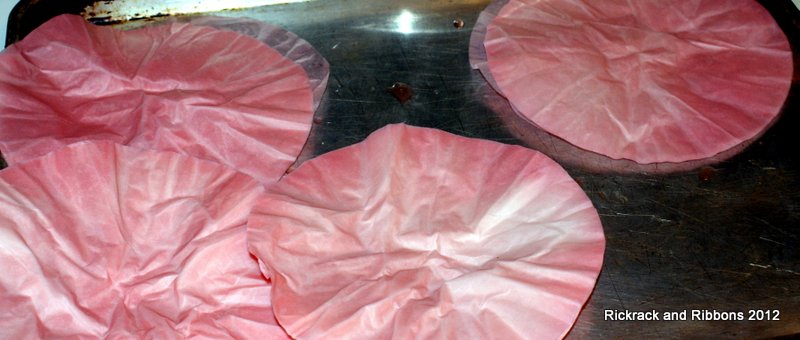
If you scrumple them (an actually method of imparting wrinkles) the color will be drawn to the creases resulting in some beautiful molting (I will show this later on down).
Sorry I did not time them but checked them in ten minutes or so. It does not take.
The above pic is closer to their true color then the one below.

Once they are dry seperate and pile on your counter perferable with a lovely loaf of fresh rye bread destine to be make in to ruebens later. Feel free to toss them about as I did. They look a little peachy here but they are more pink like above.

Assemble your crafting supplies.
I used a heart shape wreath from Joanns, bought with a coupon and it ended up being pretty cheap.
One glue gun from the early 90's that heats up to about a bazzilion degrees
and promises to leave you blistered.

Scrumple your filters. (refer above for scrumple definition) I smooshed the bottoms a bit and applied glue. Doesn't my index finger look scared already? and rightly so as I am nursing a burn on it as I type.

I first started Willy Nilly and then realized neither Willy or Nilly was making sense and they were both making things harder. Instead I put the kabosh on them and started glueing on the sides.

While Willy and Nilly were a little disapointed they did sit back and watch placing bets on how many burns I got. Nilly was winning at last count.
Are you wondering why there is a ball on a stick...Hmmm

These two pics show that pretty molting I was yammering on about earlier. Isn't it so pretty?

This is a very forgiving project, keep filling in around your wreath, burning fingers as you go (optional). In the inside I smooshed them with a long side to just fill in.

Smooshing and hot glueing. Glueing and smooshing.

All around the edges and in the middle.

I used a little hot glue on a tac and stuck it through some ribbon.
And hang.

Whoola a pretty springy pinky coffee filter wreath.
Comments
~ Wendy
http://Crickleberrycottage.blogspot.com/